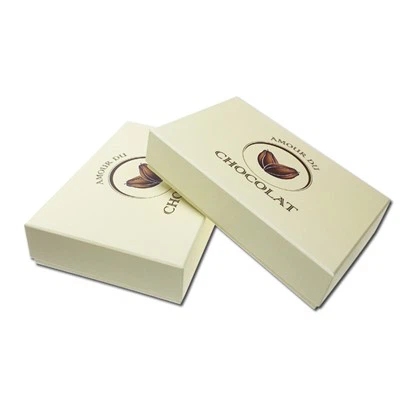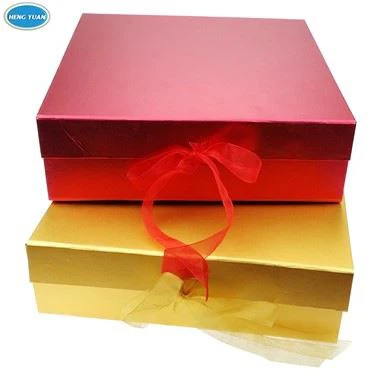
Making a simple jewelry gift bag at home is not only a creative and enjoyable activity but also a cost - effective way to add a personal touch to your presents. As a supplier of Jewelry Gift Bag and Box, I'm excited to share with you some easy steps and tips on how to create these charming gift bags right in your own home.
Materials You'll Need
Before you start, gather the following materials:
- Paper: You can use colored craft paper, wrapping paper, or even recycled paper. The choice of paper depends on your personal preference and the style of the gift bag you want to create. For a more elegant look, opt for high - quality cardstock.
- Scissors: A good pair of sharp scissors is essential for cutting the paper accurately.
- Glue or Tape: Use a strong glue or double - sided tape to secure the edges of the paper.
- Ribbon or String: This will be used to close the gift bag. You can choose a ribbon that matches the color of the paper or add a contrasting color for a more eye - catching effect.
- Decorative Elements: Such as stickers, beads, or stamps can be used to decorate the gift bag.
Step - by - Step Guide
Step 1: Measure and Cut the Paper
First, decide on the size of your jewelry gift bag. A common size for a small jewelry gift bag is about 4 inches wide and 6 inches tall. Measure and mark the paper according to these dimensions. If you want a larger bag, simply adjust the measurements accordingly.
Cut the paper along the marked lines. Make sure the edges are straight for a neat finish.
Step 2: Fold the Paper
Take the cut paper and fold it in half lengthwise. Crease the fold firmly. This will form the front and back of the gift bag.
Next, unfold the paper and fold up the bottom edge about 1 - 2 inches, depending on the size of your bag. Crease this fold as well. This will create the bottom of the gift bag.
Step 3: Create the Sides
Fold in the two side edges of the paper towards the center, overlapping them slightly. Use glue or tape to secure the edges together. This will form the sides of the gift bag.
Step 4: Add the Closure
Cut a piece of ribbon or string about 8 - 10 inches long. Attach the ends of the ribbon to the top edges of the gift bag, either by gluing or tying them. You can also punch small holes near the top edges and thread the ribbon through the holes for a more secure closure.
Step 5: Decorate the Gift Bag
Now comes the fun part! Use stickers, beads, or stamps to decorate the gift bag. You can add a simple message, like "Happy Birthday" or "Thank You", to make it more personalized. If you're feeling extra creative, you can draw your own designs on the paper using colored pencils or markers.
Different Styles of Jewelry Gift Bags
Envelope - Style Gift Bag
An envelope - style gift bag is a classic and simple design. To make an envelope - style gift bag, follow the basic steps above, but instead of folding up the bottom edge, fold the top edge down about 1 - 2 inches to create a flap. Secure the flap with glue or tape, and add a ribbon or string for closure.
Drawstring Gift Bag
A drawstring gift bag is easy to make and looks very stylish. After creating the basic bag shape, cut a long piece of ribbon and thread it through small holes punched around the top edge of the bag. Pull the ribbon to close the bag, and tie a bow to secure it.
Using Our Products to Enhance Your DIY Jewelry Gift Bags
As a supplier of Jewelry Gift Bag and Box, we offer a wide range of products that can take your DIY jewelry gift bags to the next level.
If you're looking for some inspiration, check out our Eyelashes Box Packaging. The unique designs and high - quality materials used in these boxes can give you ideas on how to make your jewelry gift bags more attractive.
Our Box Packaging Paper Sets are also a great option. These sets come with different types of paper, which can be used to create multi - colored or patterned gift bags. You can mix and match the papers to create a one - of - a - kind look.
And for those who want a more specialized option, our Paper Eyelash Box can be modified to make a unique jewelry gift bag. The shape and structure of these boxes can be adapted to hold jewelry, and you can decorate them in the same way as a regular gift bag.


Tips for a Professional - Looking Finish
- Use a Bone Folder: A bone folder is a simple tool that can help you create sharp, crisp folds. Run the bone folder along the creases to make them more defined.
- Choose the Right Glue: Make sure to use a glue that dries clear and doesn't leave any residue. This will ensure that your gift bag looks clean and professional.
- Pay Attention to Details: Small details, such as neatly trimmed edges and evenly spaced decorations, can make a big difference in the overall appearance of the gift bag.
Conclusion
Making a simple jewelry gift bag at home is a rewarding experience that allows you to express your creativity and add a personal touch to your gifts. Whether you're making a gift bag for a friend's birthday or a special occasion, following these steps and using our products can help you create a beautiful and unique gift bag.
If you're interested in purchasing our Jewelry Gift Bag and Box products, or if you have any questions about our Eyelashes Box Packaging, Box Packaging Paper Sets, or Paper Eyelash Box, please feel free to contact us. We're always happy to assist you with your procurement needs and discuss any custom - made solutions that you may require.
References
- Crafting magazines for inspiration on gift bag designs.
- Online tutorials on DIY gift bag making.